

-


-


-


-


WeChat

-
whatsapp

Products
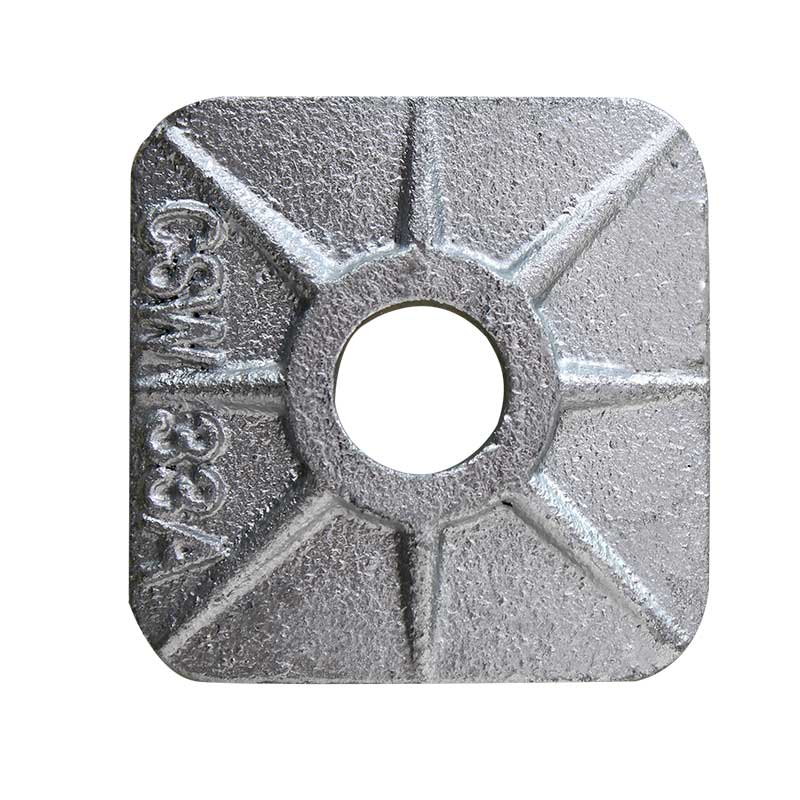
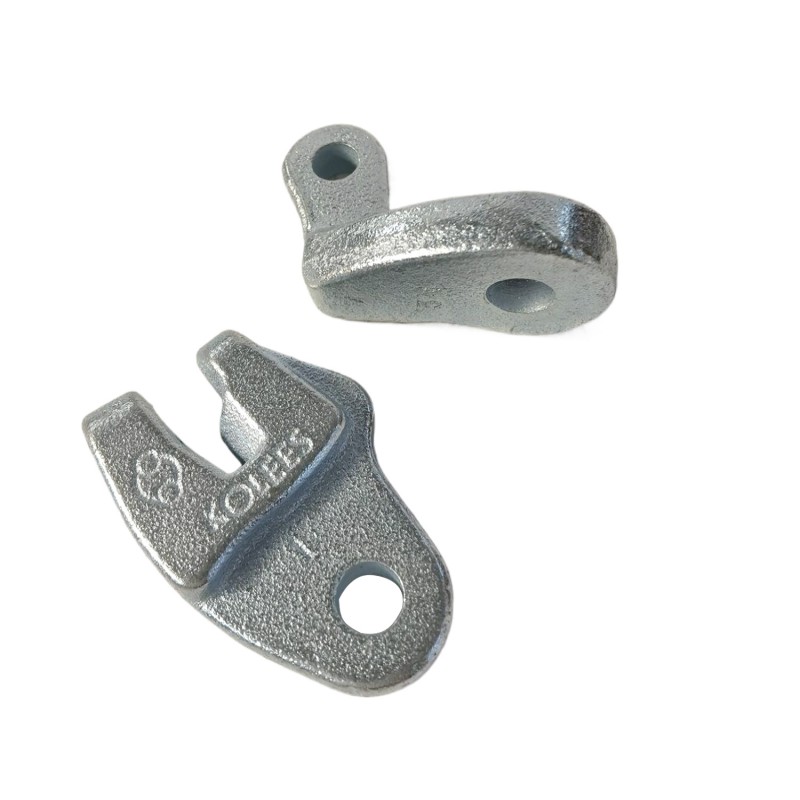
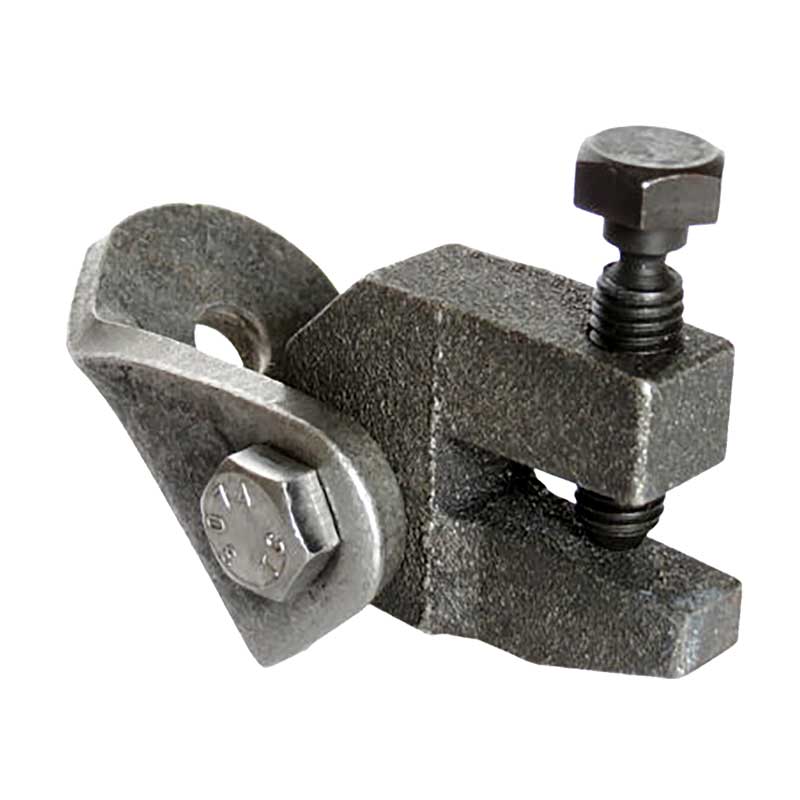
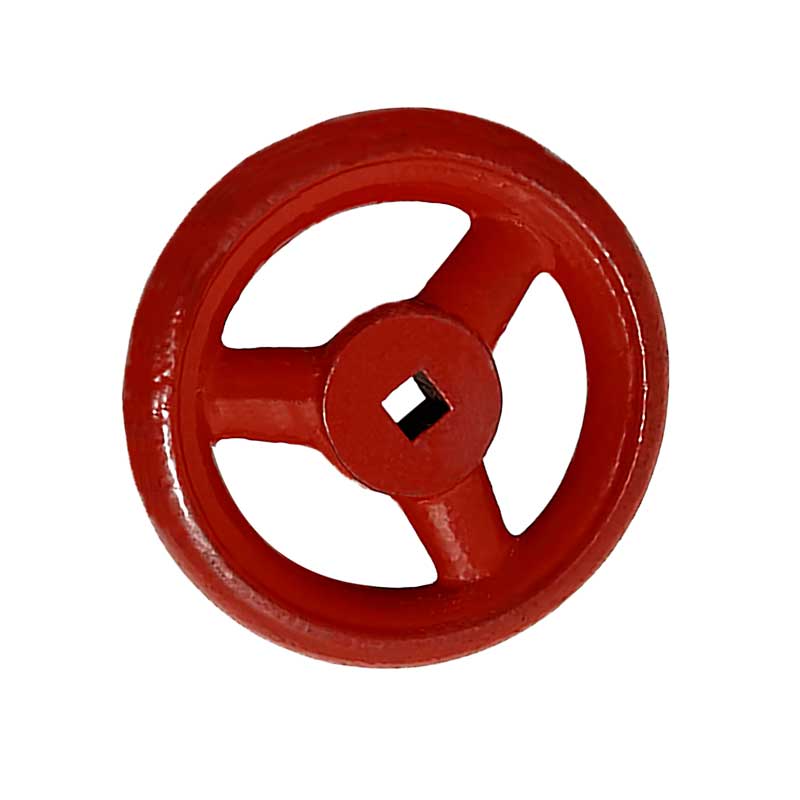
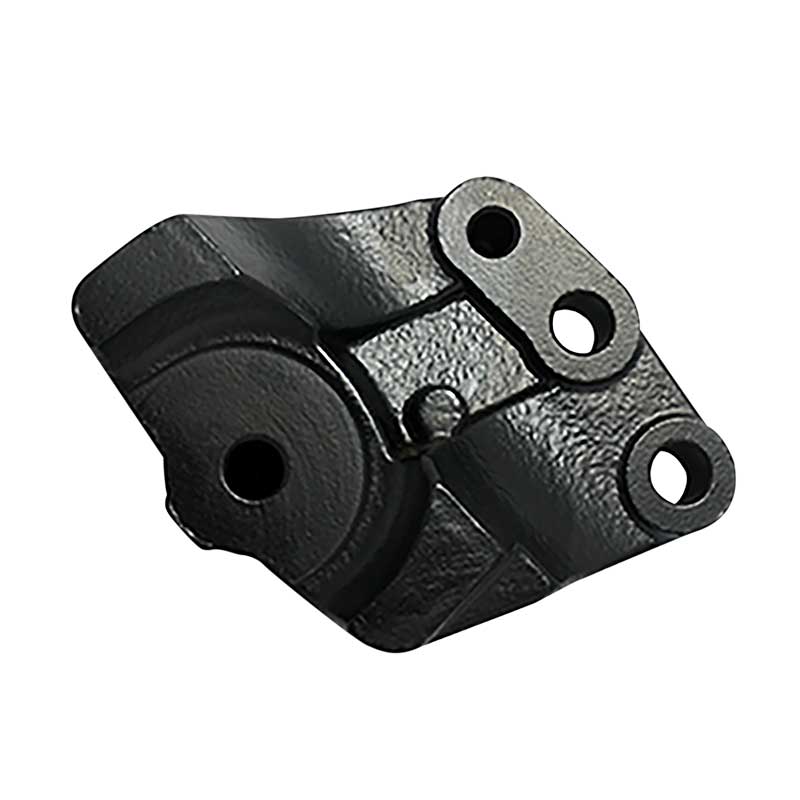
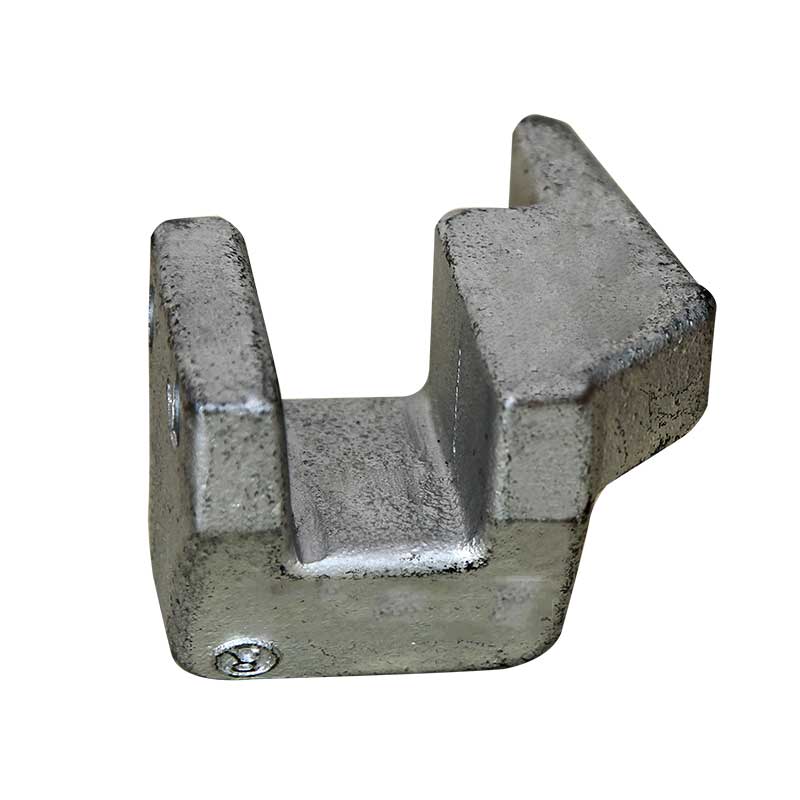
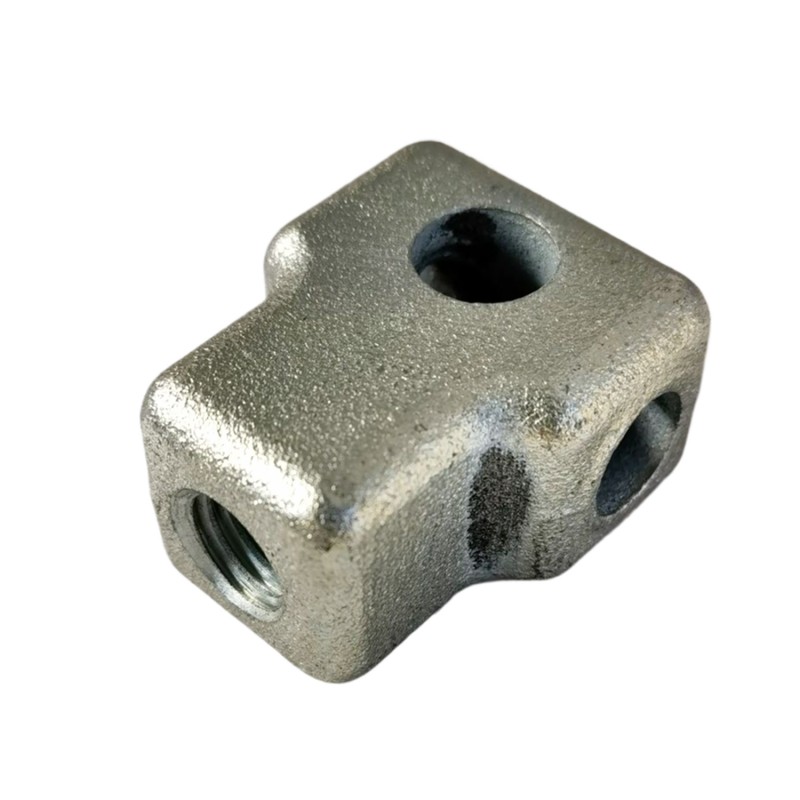
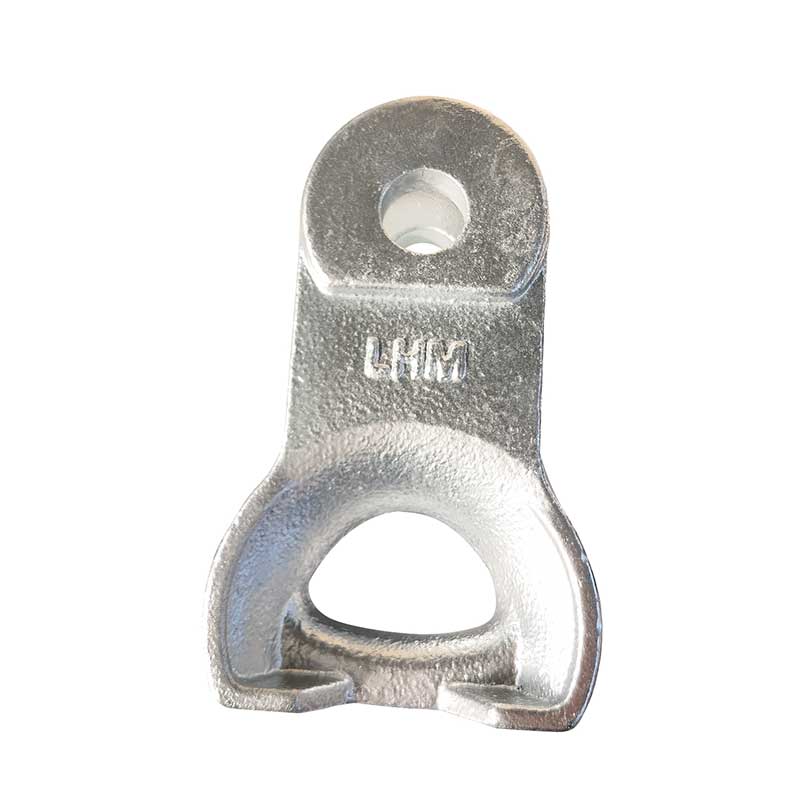
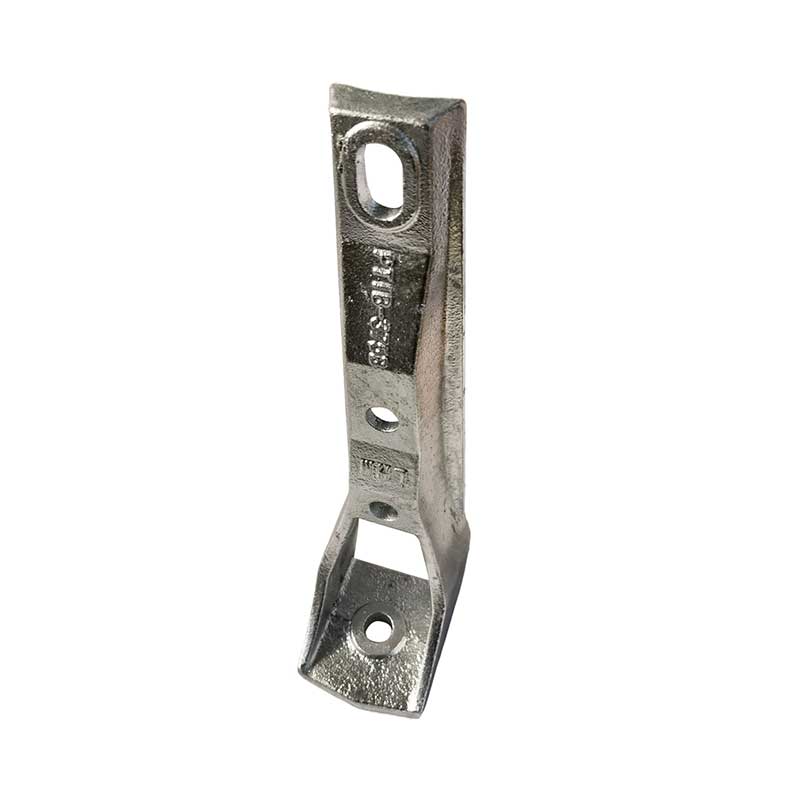
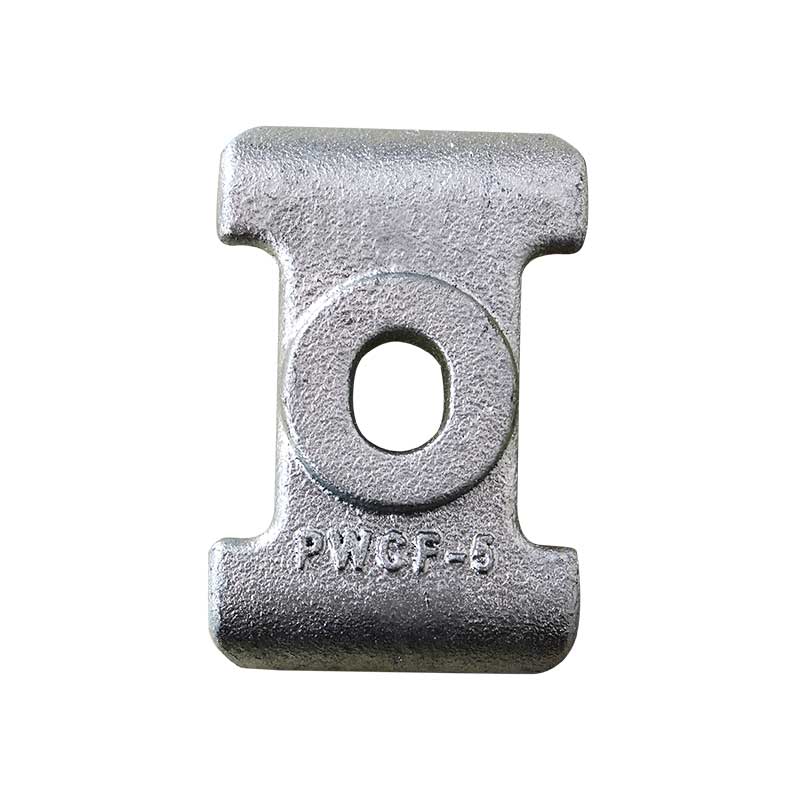
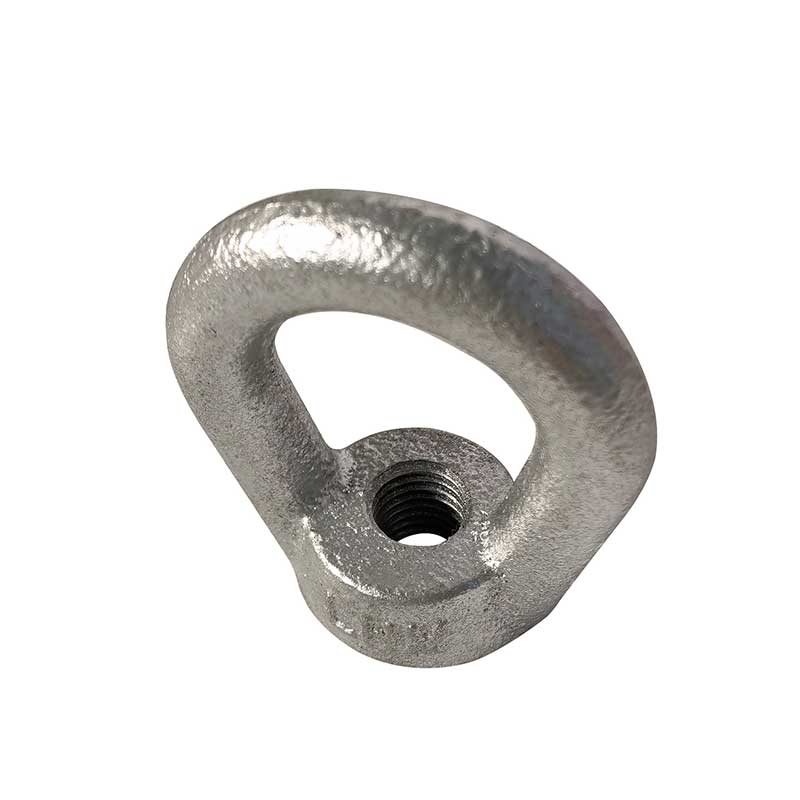
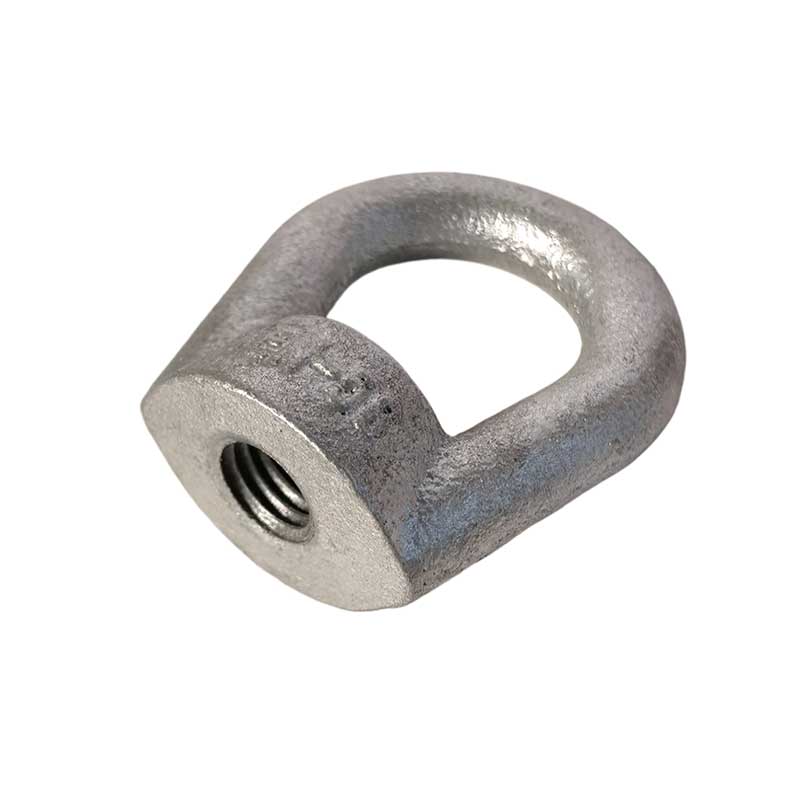
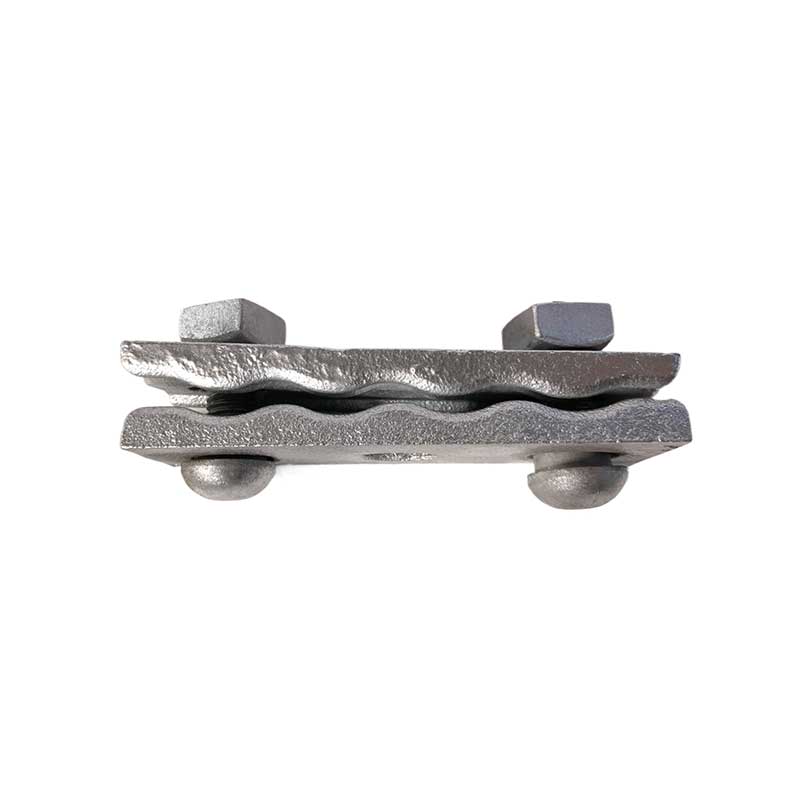
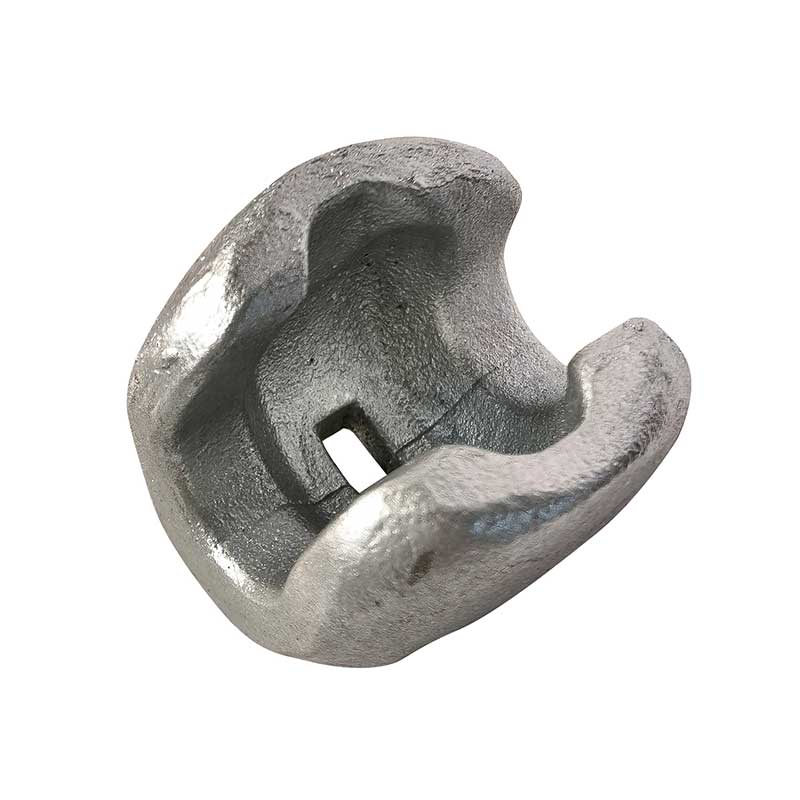
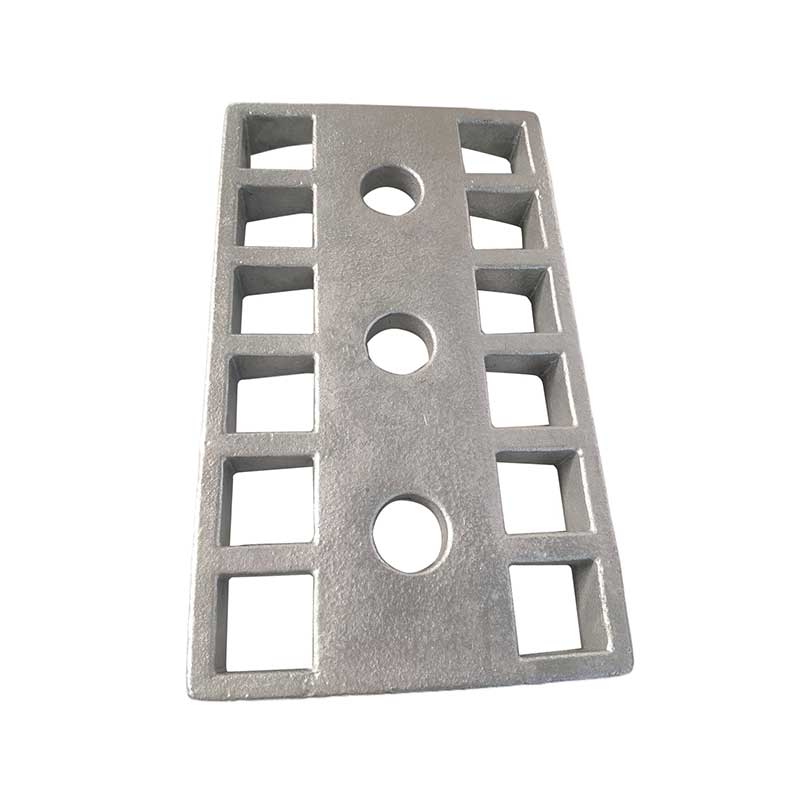
Sand castings with coating
Coated (shell) sand is used, consisting of quartz sand, pre-coated with thermoplastic phenolic resin and a hardener - hexamethylenetetramine. The metal model plate is heated to 180–340 °C.
Description
marker

Product Description
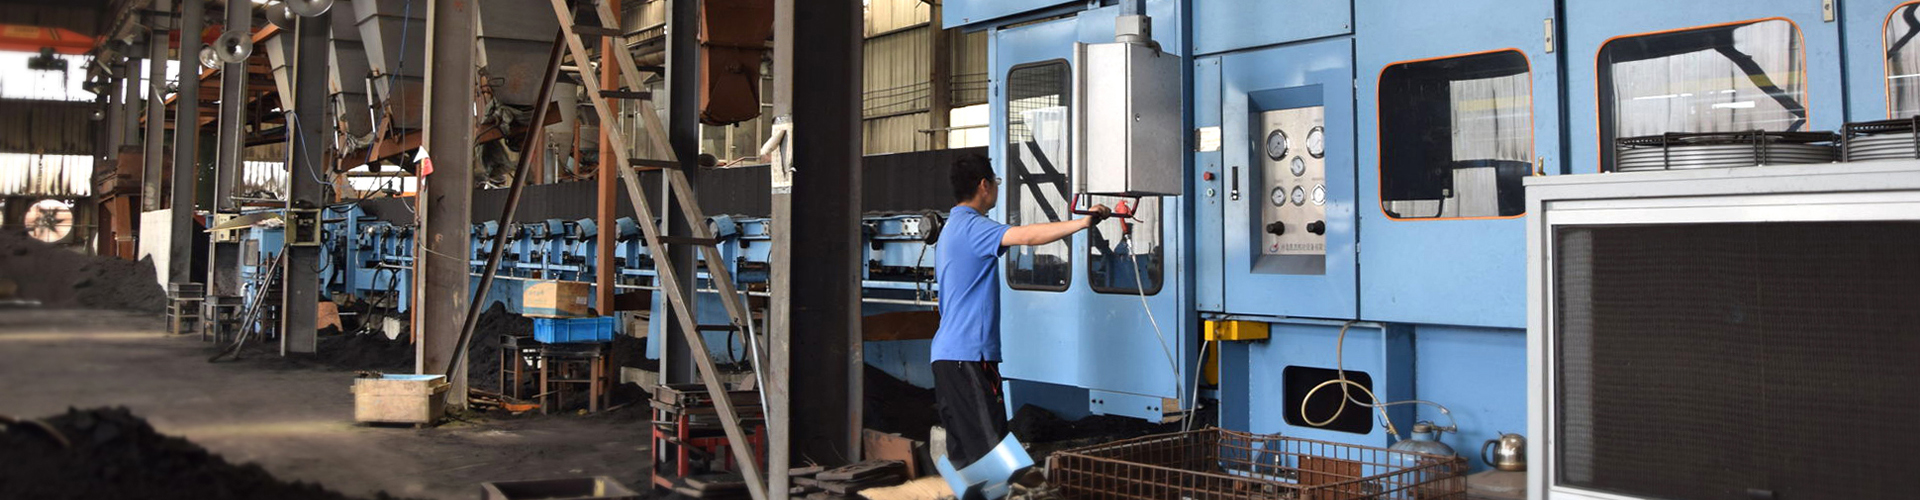
Shell casting process (hot shell casting using coated sand, specialized for precision casting of ferrous metals)
Process principle
Coated (shell) sand is used, consisting of quartz sand, pre-coated with thermoplastic phenolic resin and a hardener - hexamethylenetetramine. The metal model plate is heated to 180–340 °C. When the coated sand comes into contact with high temperatures, the resin quickly melts, cross-links and hardens, forming a hard, thin sand shell on the surface of the model slab. Once the shell is removed, the two mold halves are joined together to form the mold cavity. Dry sand is poured around the outside of the shell for support before molten iron is poured, balancing the cost of sand casting with the dimensional accuracy of precision casting.
Special raw materials
Molding sand: coated fine sand with 2.5-4% resin content; low regenerability.
Model plate: A split mold made of cast steel or cast iron, which has high heat resistance, wear resistance and long service life with repeated use.
Release agent: calcium stearate and silicone oil to prevent the sand shell from sticking to the mold.
Ferrous materials used: small and medium precision parts made of gray and ductile iron, such as camshafts, gears, valve seats and hydraulic housings.
Step-by-step technological diagram of the shell mold casting process
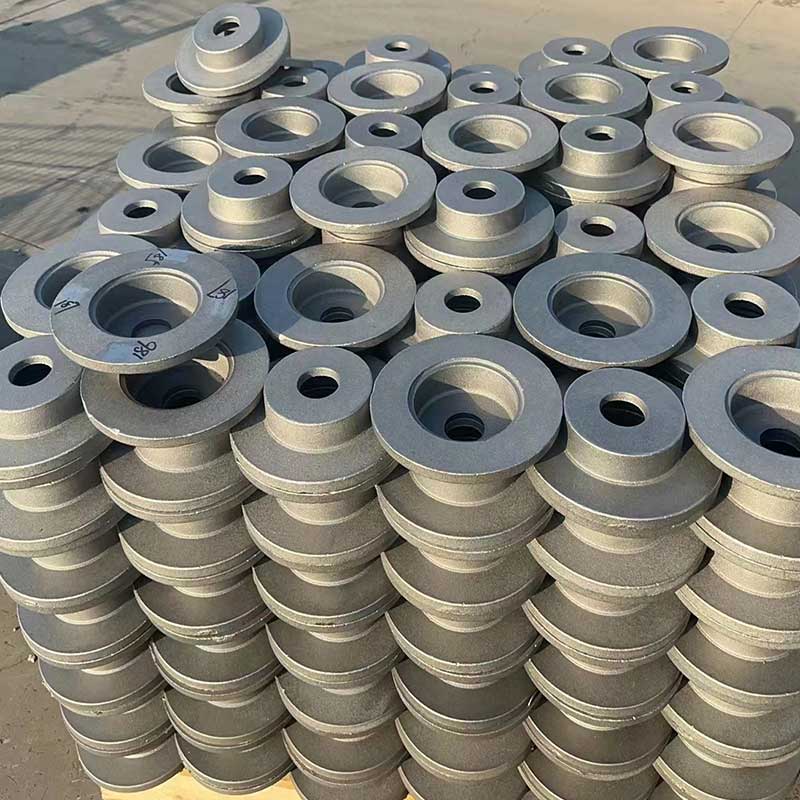
Iron castings in as-delivered condition, produced by shell casting
Standard six-stage process
(1) Heating the metal model plate and applying the release agent
Heat the mold to 200–280 °C and apply the release agent evenly to ensure free removal of the sand shell.
(2) Applying sand using a tipping hopper (basic operation)
Press the heated model slab against the sand storage hopper and invert the entire assembly to completely cover the surface of the model with coated sand. Hold for 8–15 seconds. The surface sand is heated to harden into a hard shell, while the unheated loose sand is poured back into the hopper.
(3) Additional hardening (burnout) of the shell mold
Transfer the model slab with the formed sand shell to a secondary curing oven at 180-220°C for 30-90 seconds to increase the thermal strength of the shell. Shell thickness is controlled within 8–15 mm.
(4) Removing the shell, making cores and assembling half-molds
Remove the finished half-shell from the mold using the ejection mechanism. For parts with internal cavities, cores are made from coated sand at the same time, then the upper and lower half-shells are aligned and fastened together.
(5) Installation in the flask for reinforcement and filling
Place the assembled shell mold in the flask and fill the space around it with dry support sand to prevent the shell from expanding and cracking during pouring. Pour molten cast iron at a fixed temperature of 1400–1460 °C.
(6) Cooling, shelling and cleaning
After cooling for 4-12 hours, destroy the sand shell and remove the castings. Remove sprues and sprues, perform shot blasting, flaw detection and final machining.
The main advantages and disadvantages of shell casting
Advantages (compared to conventional sand casting)
Significantly increased accuracy: CT9–CT11 dimensional tolerance, stable dimensions and excellent repeatability in mass production.
Smooth surface: surface roughness Ra 6–25 µm with minimal burnt layer, which significantly reduces allowances for turning, milling and grinding.
Excellent ability to form thin-walled castings: The high rigidity of the shell mold ensures the stable production of cast iron castings with thin walls of 2-3 mm thickness, complex topography and small holes.
Extremely low sand consumption: only a thin shell layer forms the cavity; sand consumption is only 1/10 of that for conventional sand casting.
Highly compatible with automation: compatible with automatic lines for the production of shell molds in continuous mass production.
Homogeneous casting structure: controlled gas permeability of the shell significantly reduces defects, including gas holes and slag inclusions.

contact us
Related Popular Products
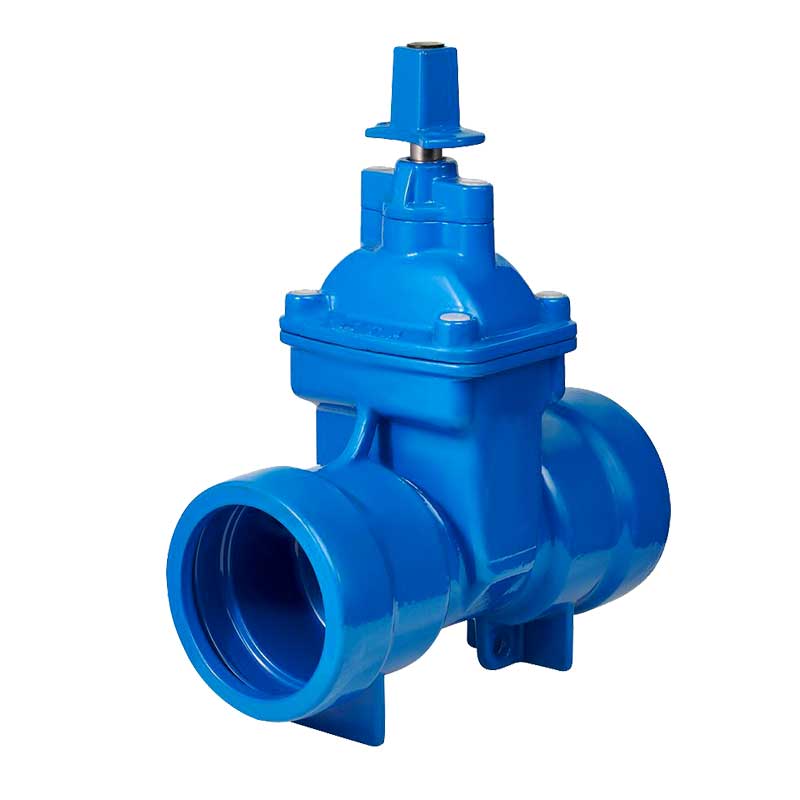
Clay sand casting
Clay sand casting is the most common and inexpensive traditional sand casting process, commonly known as wet earth casting. The main raw materials include quartz sand, bentonite clay, water and coal dust.
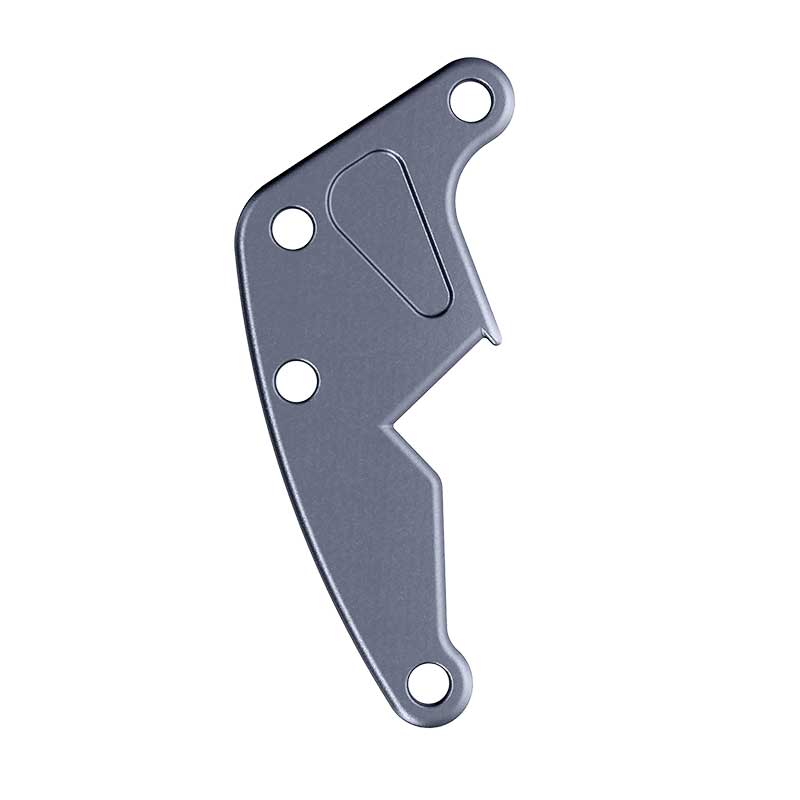
Fork plate
Our sand-cast power connection plate is a critical load-bearing element of linear reinforcement, specially designed for overhead power lines, substation insulation hangers and suspension systems in renewable energy power grids.
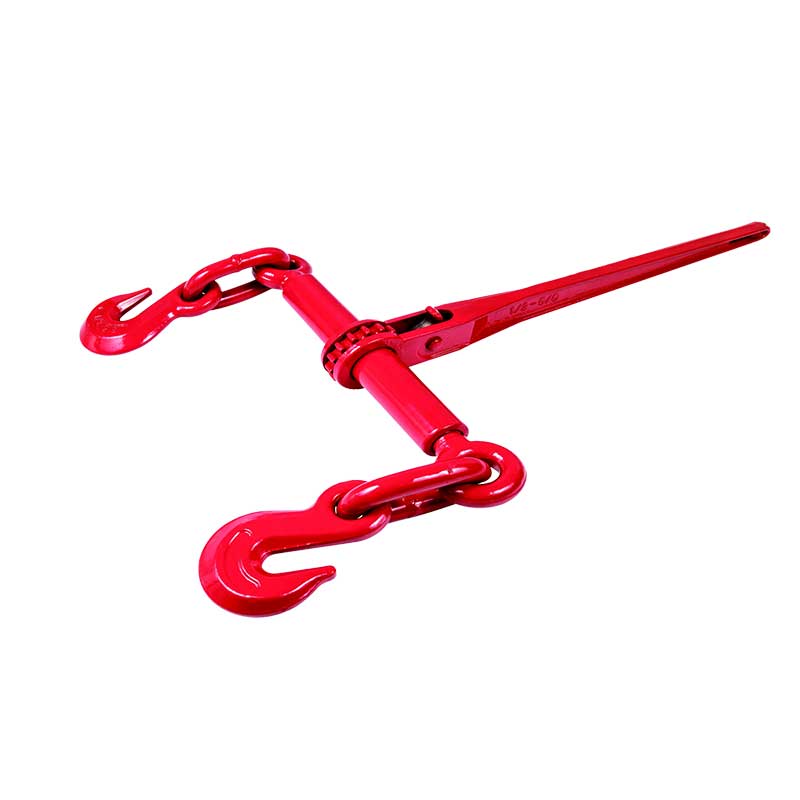
Chain tension element
Our sand casting chain tie is a heavy duty, high strength load securing device, widely used in industrial transportation, rigging, load tying and heavy equipment securing.
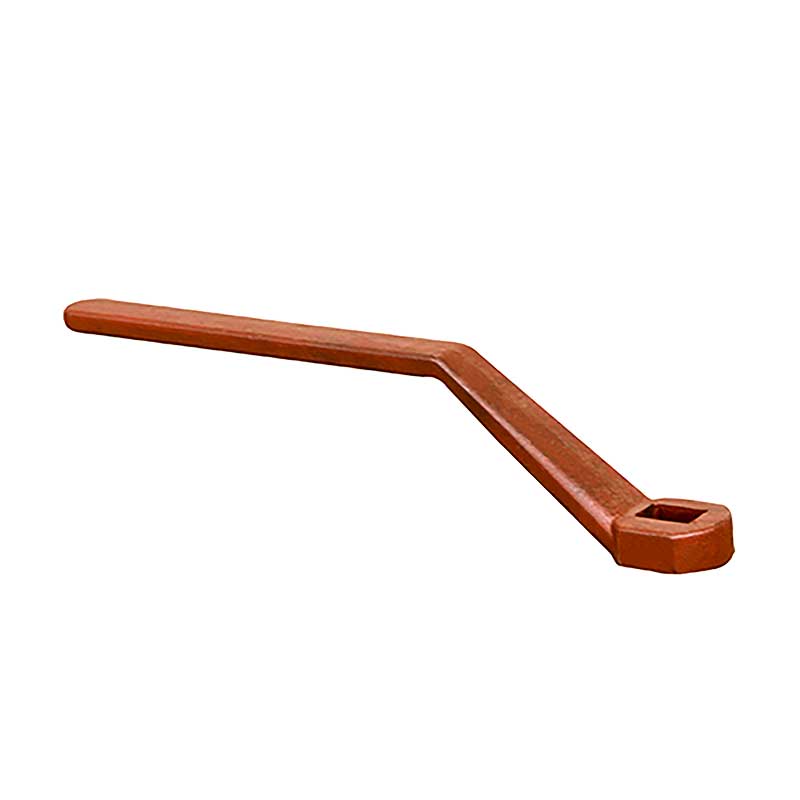
Valve handle
High quality industrial handles and handwheels for gate valves, gate valves and butterfly valves. Made from durable cast iron, steel and aluminum. ISO 9001 certified, ergonomic design, API/ISO compliant. Customized OEM/ODM service is available. Export worldwide.
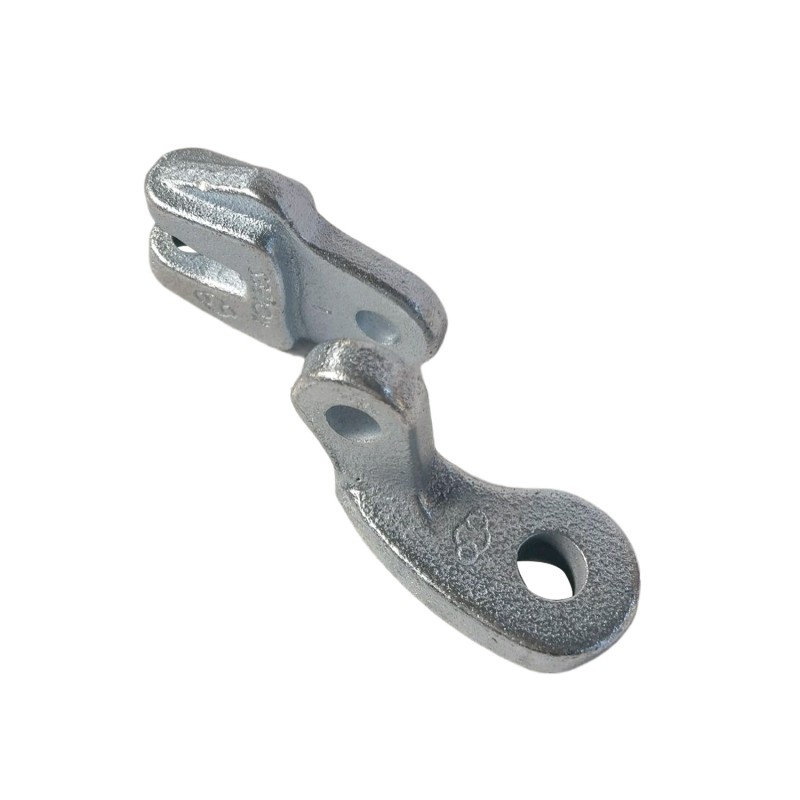
Hanging clamp
Our sand cast overhead power line clamp is a high-performance precision load-bearing and fixing element designed for overhead power lines, distribution networks and substation overhead systems around the world.
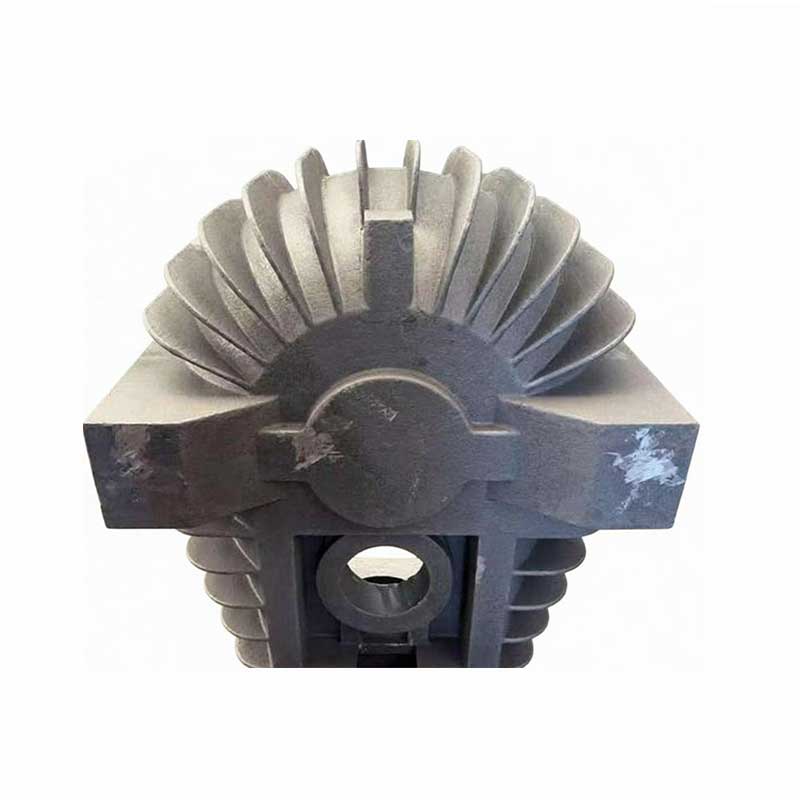
Accessories for mining equipment
Gray cast iron (SCh250, SCh300) is widely used for machine frames, engine blocks and body parts due to its good machinability and ability to dampen vibrations.
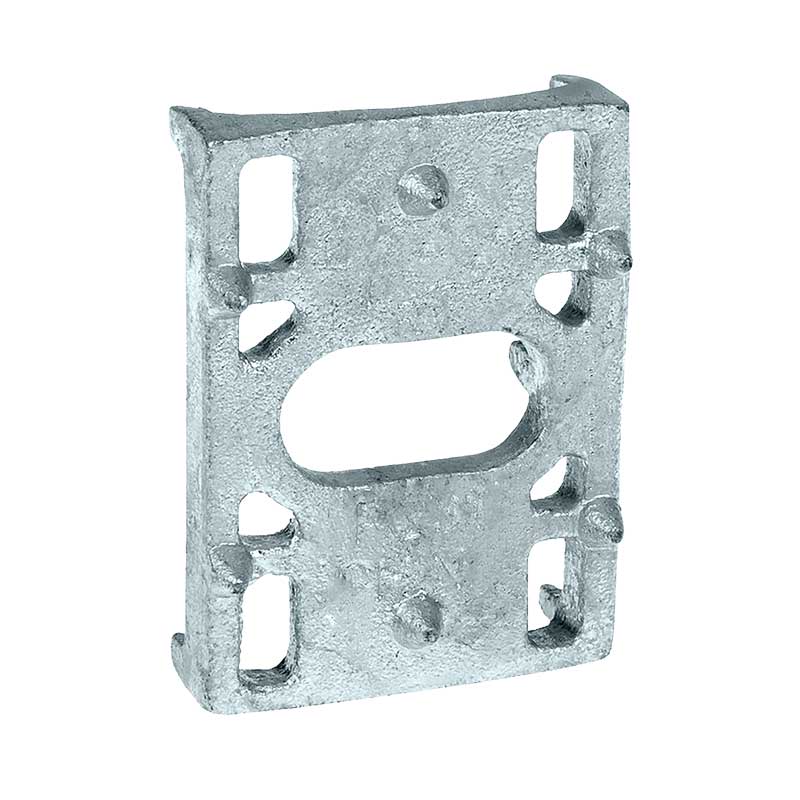
Clamp for guy wires
Our sand cast transmission guy guy clamp is a heavy duty anchorage specifically designed for overhead distribution lines, transmission towers and pole stabilization systems.
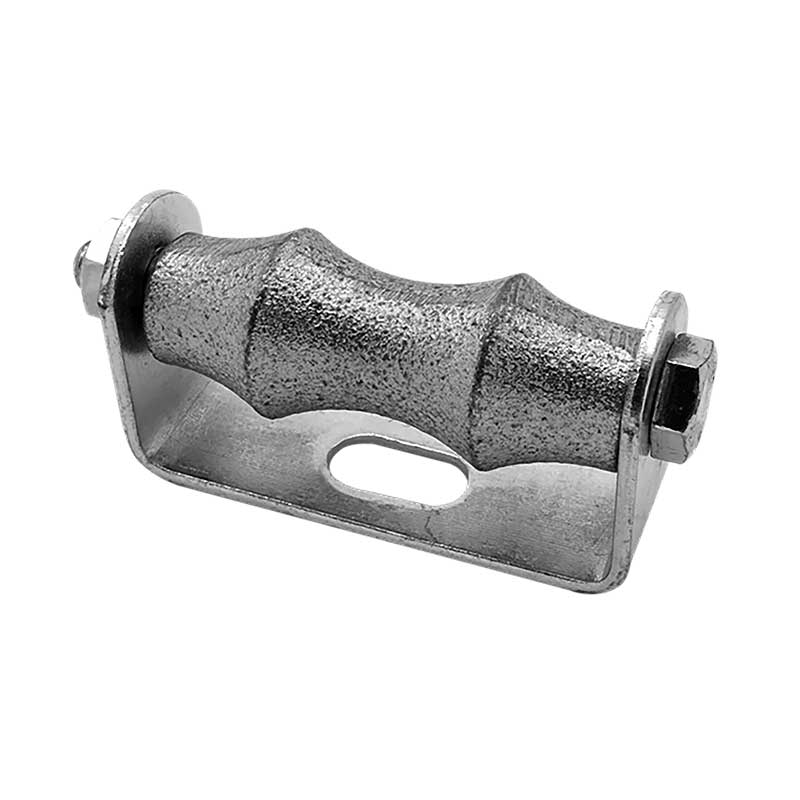
Pipe roller
Certified manufacturer of industrial pipe rollers and support rollers. Highly loaded steel/cast iron rollers for oil and gas and construction pipelines. Custom OEM/ODM services, ASTM/DIN compliance. Export to the USA, EU and South America. Request a quote.
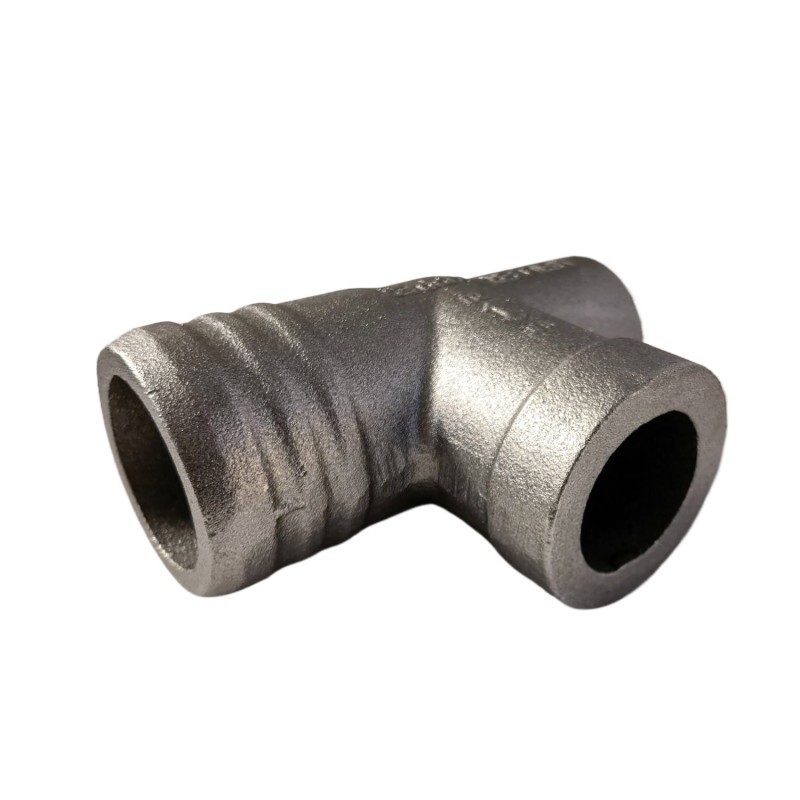
Pipe fittings
As key fittings designed for water and wastewater systems, municipal piping, building plumbing and other critical applications, our premium cast iron fittings are produced by sand casting from molten cast iron.
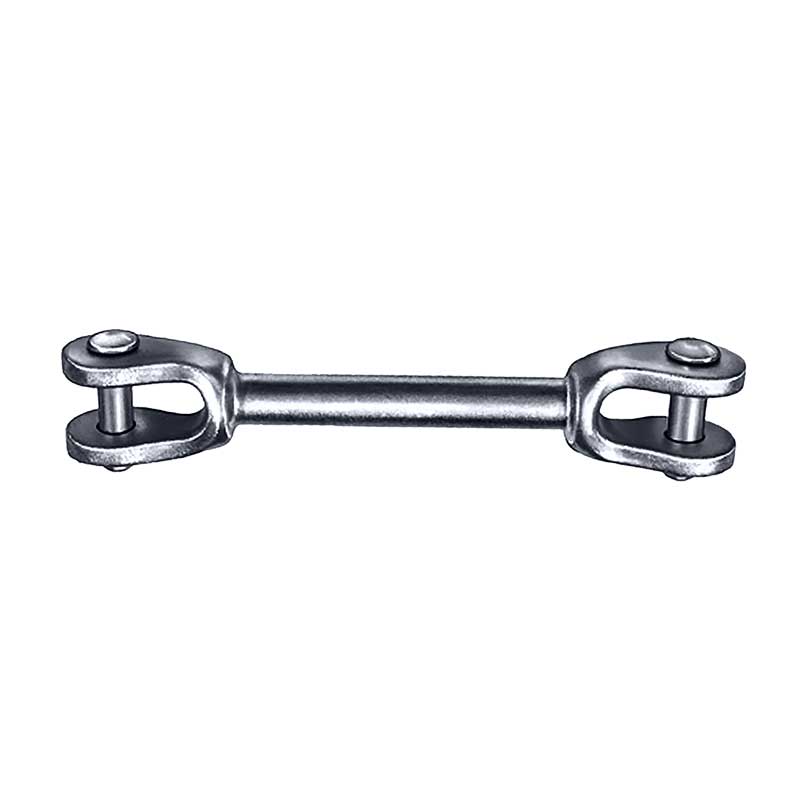
Eyelet
Our sand casting power lug is a critical one-piece connection mount specifically designed for overhead power lines, substation insulator strings and distribution grid overhead systems.
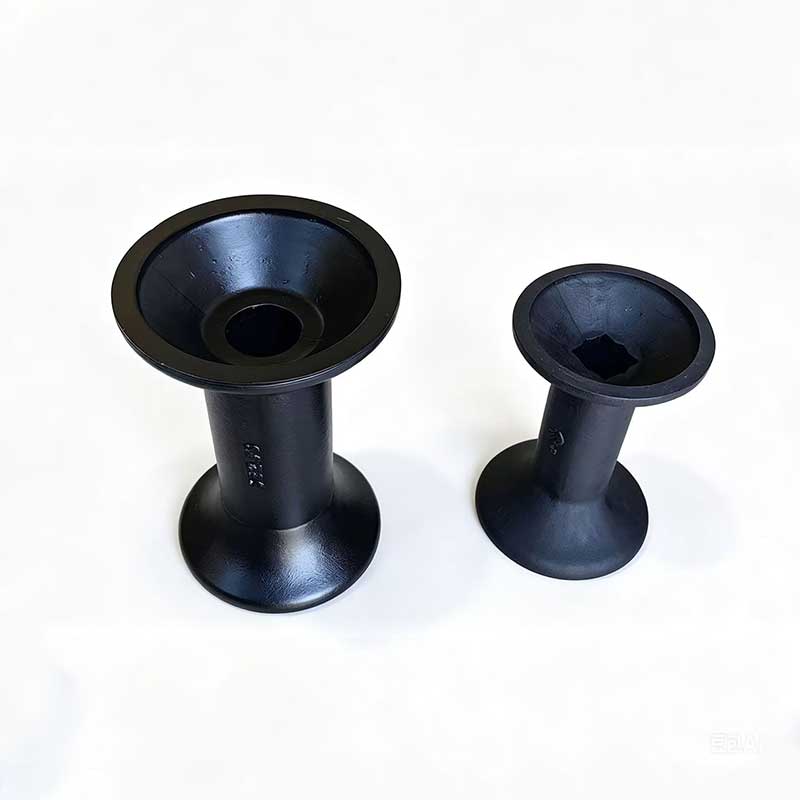
Parts for agricultural machinery
Agricultural machinery operates in harsh field conditions with high loads, where the reliability of spare parts directly determines uptime and harvesting efficiency.
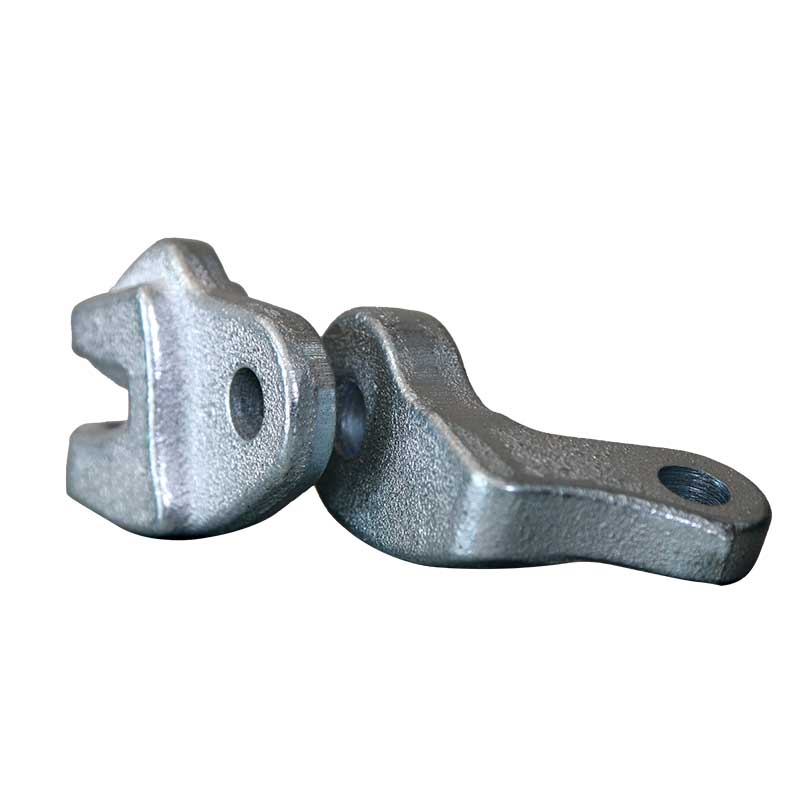
Universal structural fastening
Engineering universal structural fastenings for severe operating conditions. ISO 9001 certified foundry offering custom casting (clay sand/shell molding) for the US, EU and South American markets. High strength, corrosion resistance, conforms to ASTM/DIN standards. Request a quote.
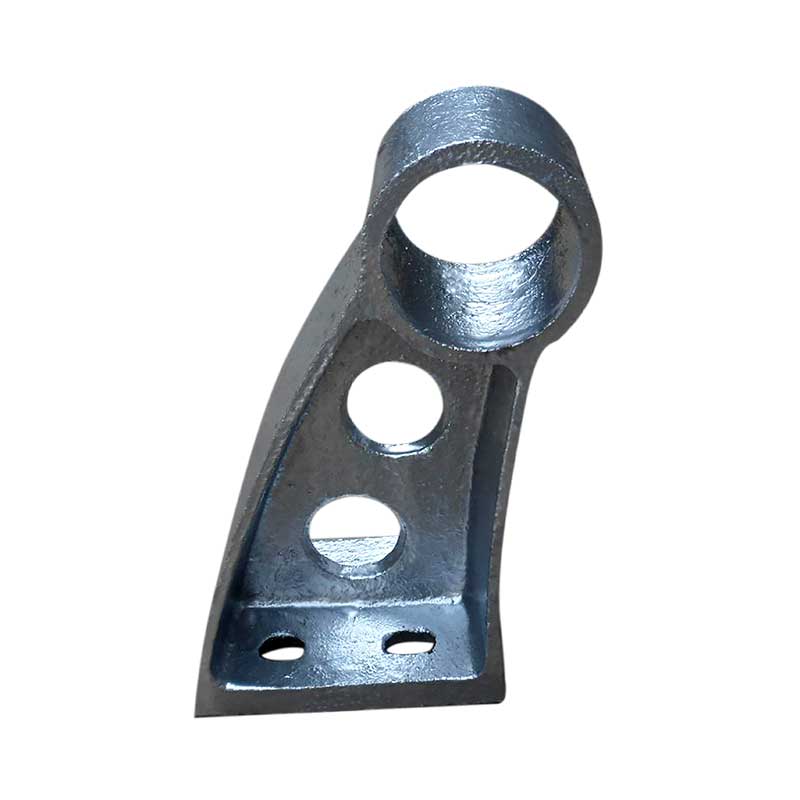
Guardrail support bracket
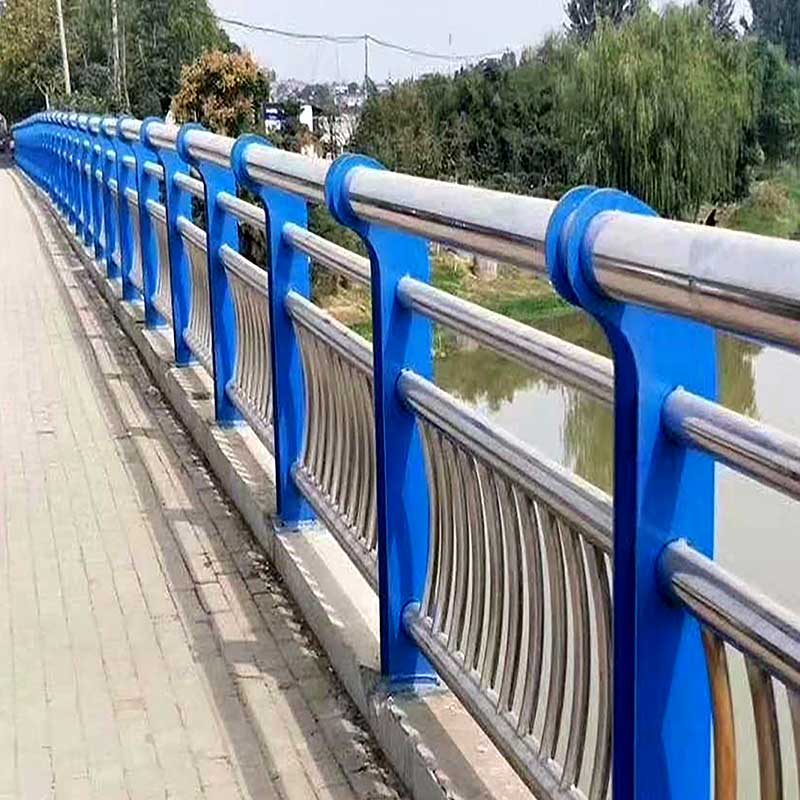
High-strength cast iron and steel support brackets for highway and bridge guardrails and traffic barriers. Precision casting, hot-dip galvanized, ISO 9001 certified. Durable, corrosion-resistant, customized for global infrastructure projects. Export from Qingdao, China.
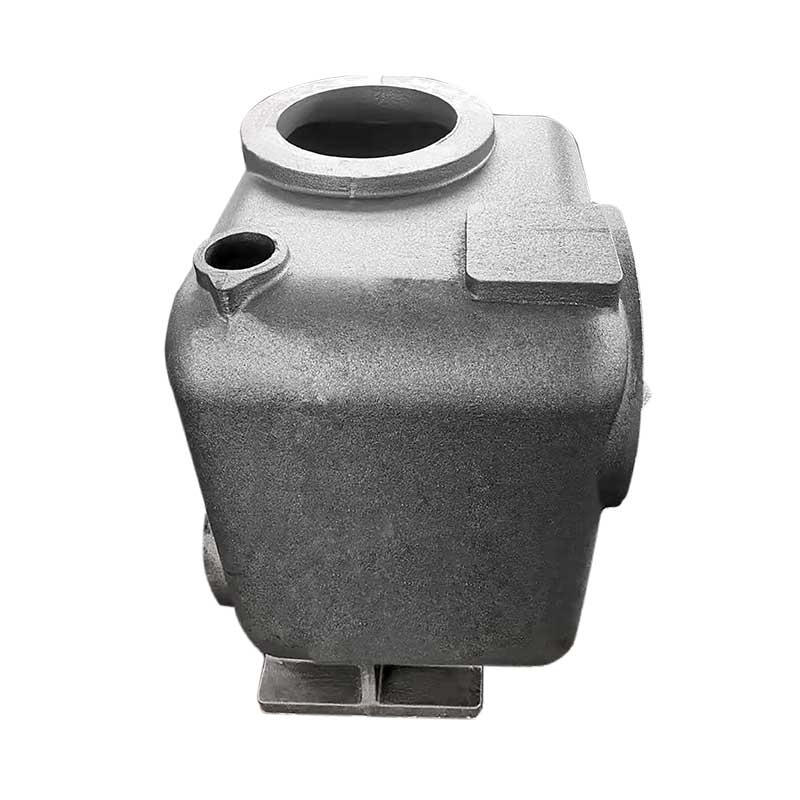
Pump impeller
High efficiency cast pump impellers for industrial, agricultural and marine applications. Precision casting from SS304/316 stainless steel, duplex steels, cast iron and bronze. ISO 9001 certified, dynamic balancing and CNC machining. OEM and ODM services are available. Global delivery from Qingdao.
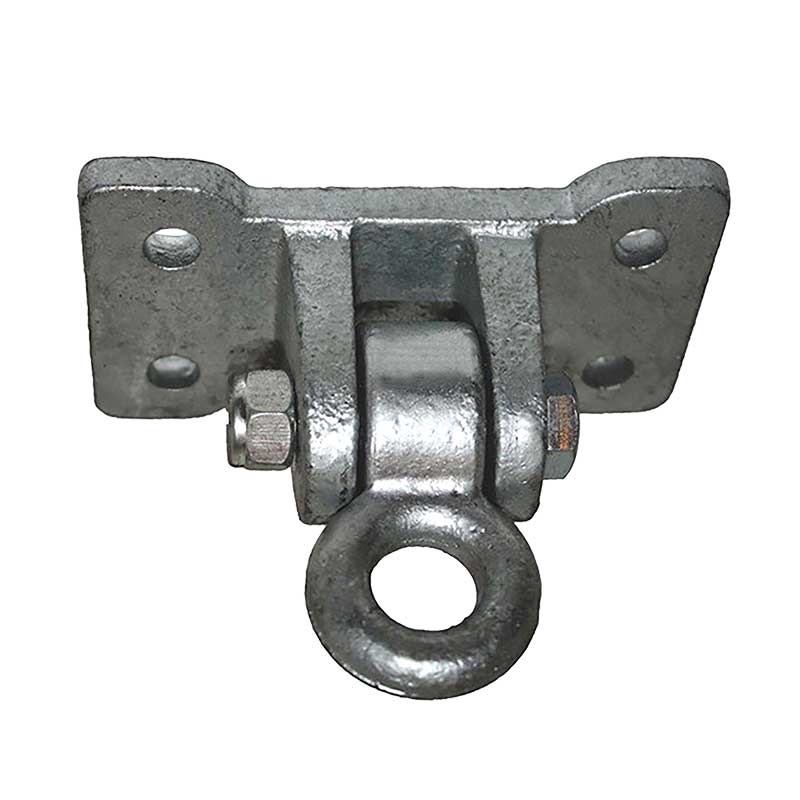
Swivel mount for braces
High performance swivel fasteners for seismic bracing of pipes, ducts and cable trays. ISO 9001 certified foundry offering custom precision machined cast steel/iron components. Compliant with ASCE 7, IBC and EN standards. Export to the USA, EU and South America.
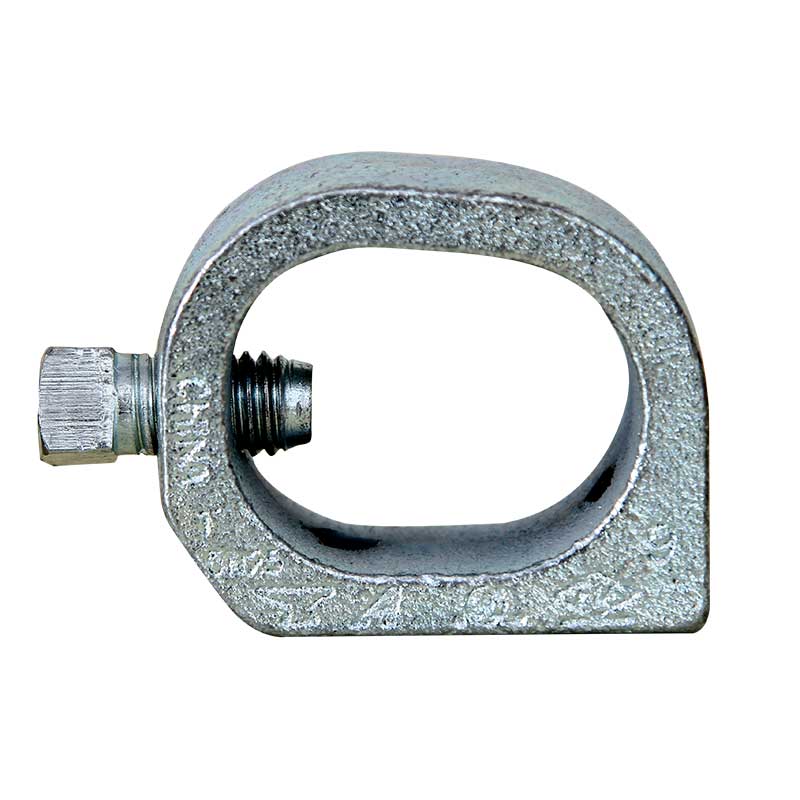
Beam clamp
ISO certified manufacturer of heavy beam clamps. Custom casting solutions using clay sand and shell molding. CE, UL, FM approved. Factory direct prices for US and EU markets. Request a quote today.